There was some discussion on a Facebook fiber group yesterday about how to get a batt off the drum carder cleanly. I mentioned my method, but pictures are worth a thousand words, so I took some. (And I’ll probably still write a lot of words!)
This is actually an amalgam of two batts, as the first one came off perfectly cleanly, so I couldn’t show how to get the wispies up. Which leads to the best pointer……
How you put the batt on will determine how easy it is to get off again. You want that first layer to be a continuous and smooth one….this is not the time to feed small random bits to your carder….you want to be feeding it all the way across, and enough to cover the entire circumference. After that layer, you can go to town with add-ins. If you can’t get an even layer right now, just continue to work on it. You can always lift the odds and ends as you take the batt off, but I think it saves a lot of time to get that base layer on.
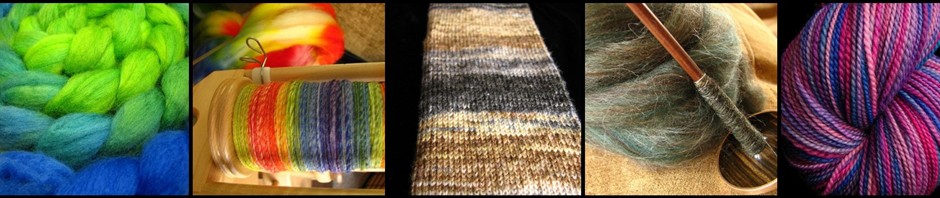
Here’s my nice smooth batt…. (this is my Fancy Kitty Big Tom drum carder)

Looks great, eh? For demonstration purposes, I purposely put in some uneveness on the bottom layer.

Ok, so now we have ourselves a batt. Let’s take it off. I have a doffing hook, but you can use anything strong and pointy. Just don’t take too big of a bite, that fiber is collectively strong and will bend knitting needles. Continue all the way across, gathering the loose fibers in your free hand, and being sure all the ends come up.


Now, I like to roll the batt off. This method keeps the tension close and even, so you are pulling on the fibers, not drafting them, and they will be able to pull out of the carding cloth more cleanly. I’ve used a couple of dowels or knitting needles before, but I prefer this….

That’s a roll from the middle of plastic wrap. It’s a sturdy tube, and just enough wider than my swift to give my hands a place to be. The other thing is a random large plastic bag. I usually have a long strip of brown paper, but this was handy. You could also use a strip of cloth, such as denim. You just want it wider than your drum, and a little longer than the circumference. Tuck the bag and tube under the loose end of fiber. (In case it isn’t clear, I’m standing at the back of my carder.)


And start rolling, lifting the swift up when needed.


As you can see in that last one, there’s a nep or two left, I didn’t worry about those, I don’t want them in my batt.
But this…..I want in my batt, and if I kept rolling, more and more would be left on the drum instead of in my batt.

So I stop, and grab something that will fit down in the teeth, and put these back on my roll.


Here’s another option, this is a cleaning brush. I can use it to snag up the end of the fiber. Any tool that is handy!

Once you get all the way around, then you can unroll it, and voila!

I hope that helps you with your drum carding! Feel free to ask questions in the comments.


